Moving a Washer and Dryer: Hoses, Draining, and Damage Prevention
Moving a washer and dryer looks simple until water spills across a hardwood hall or a dryer vent rips a hole in fresh paint. These machines combine weight, water, power, heat, and moving parts. Treat them like appliances and furniture at the same time, and they will arrive ready to run instead of leaking, rattling, or throwing error codes.
Over the years I have moved hundreds of laundry pairs, from compact stackables tucked into condo closets to 30-year-old workhorses down in basements. The difference between an easy rollout and a soggy headache comes down to three things: controlling water, controlling movement, and respecting connections. The rest is tools and patience.
Why hoses, valves, and a few ounces of water matter
Washers retain water in more places than most people expect. Even after the final spin, the tub trap, pump, and internal hoses hold pockets of water. If you tip the washer forward, that water heads for the door boot or the floor. If you leave supply hoses on the wall, those rubber gaskets can fail under tension and start a slow drip after you leave. One slow drip can soak drywall and baseboards by morning.
Dryers introduce a different risk. Lint can clog rigid elbows, flexible foil ducts tear easily, and gas dryers add a connection that cannot be rushed or guessed at. I have seen one bent gas cock ooze a faint odor for days because someone tried to muscle a dryer sideways with the line attached. None of that is necessary if you sequence the job right.
Gather the right kit before you touch a valve
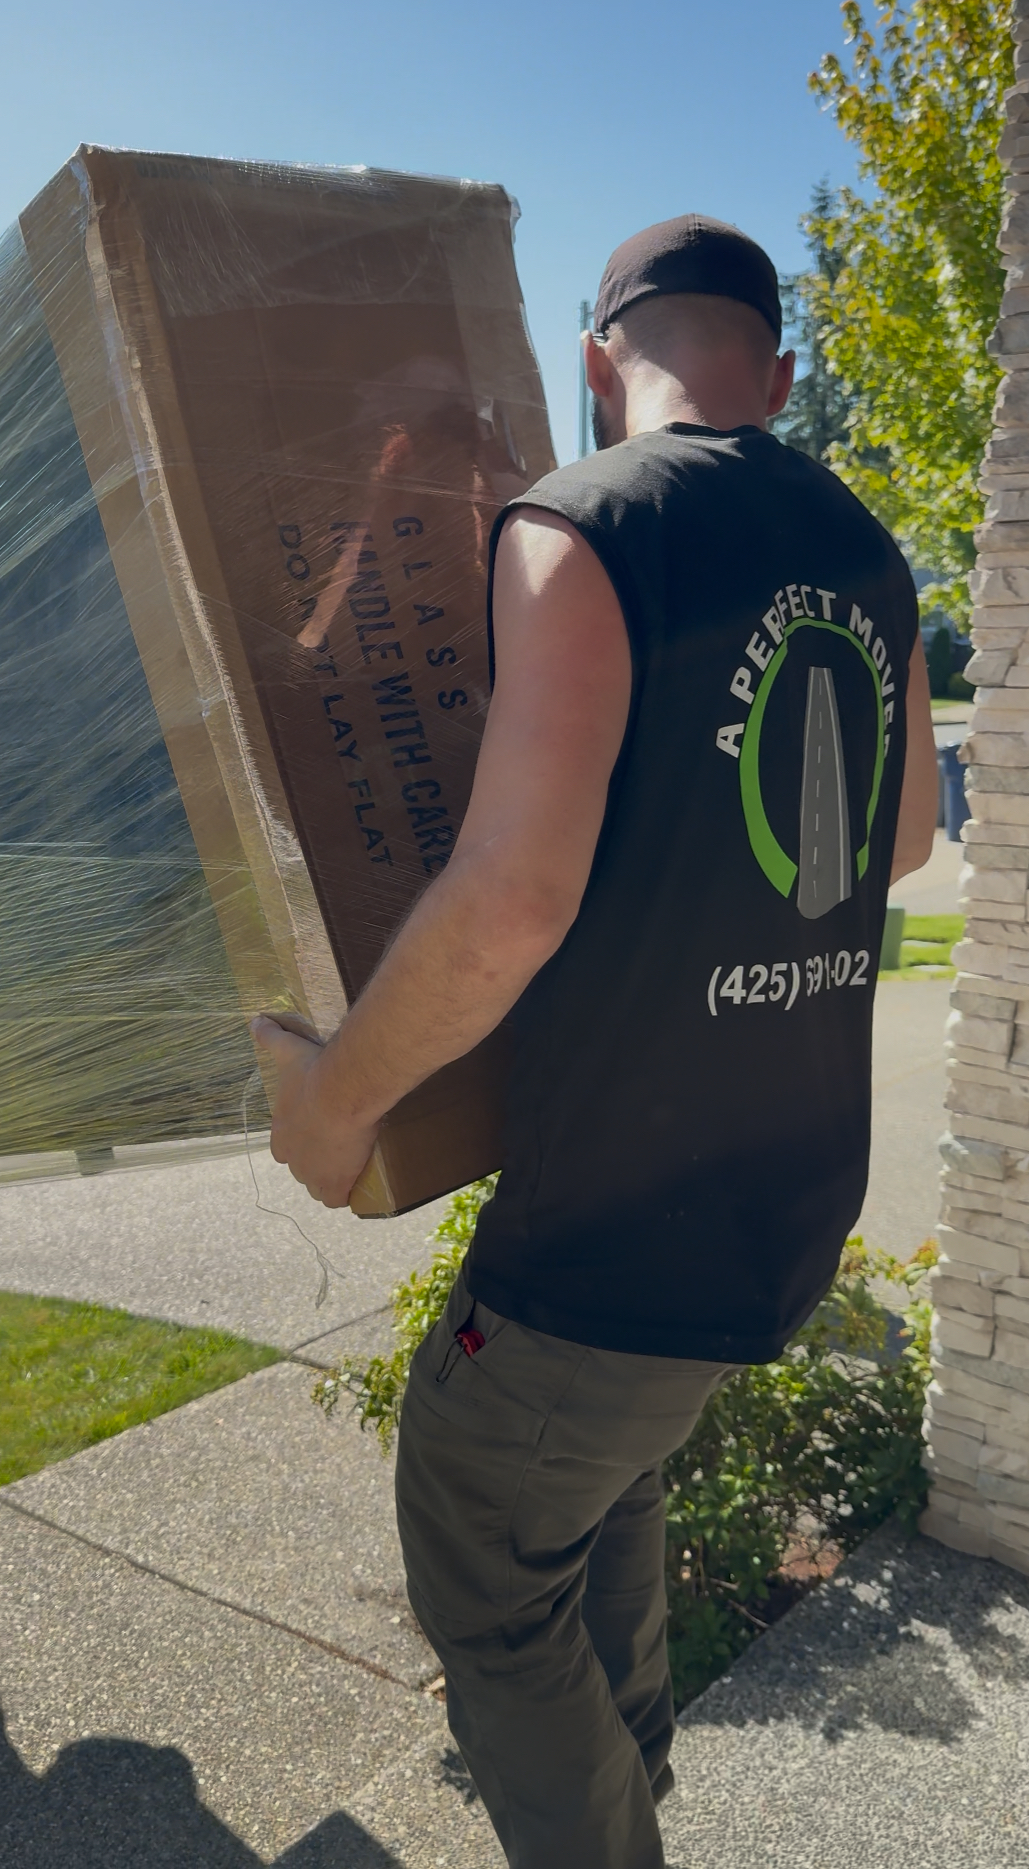
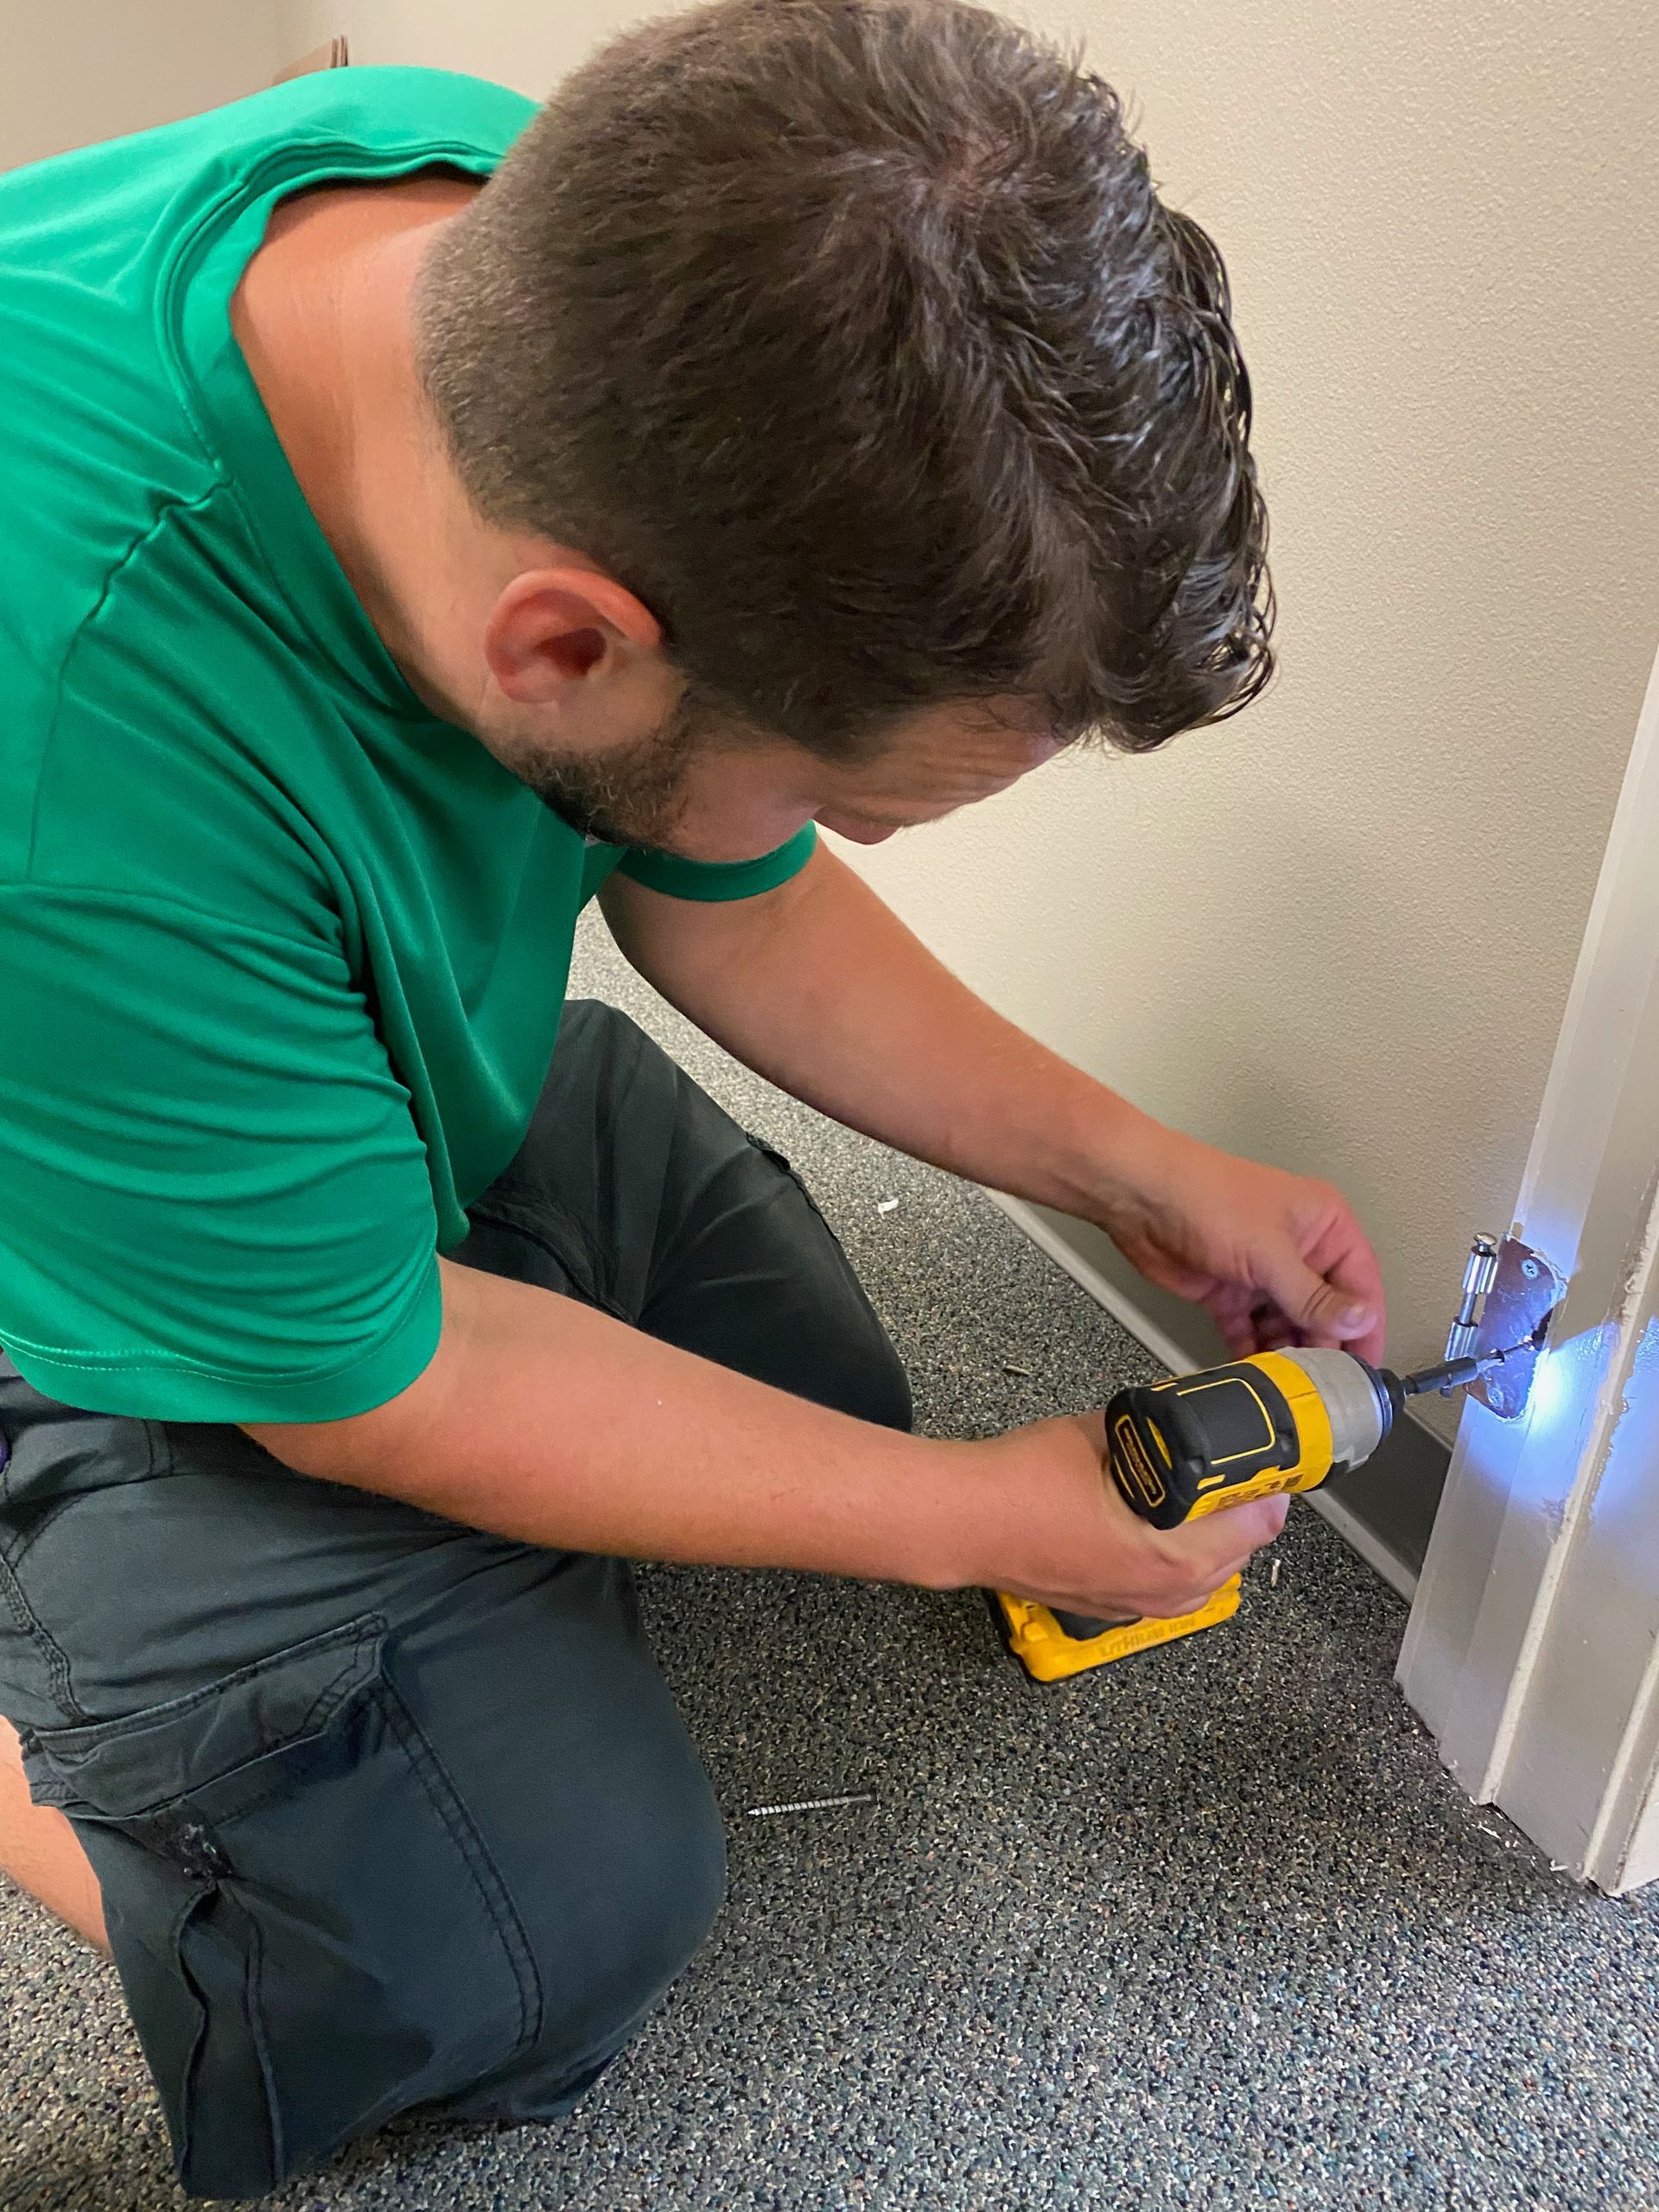
You can improvise with towels and a bucket, but a few inexpensive items make the difference. I carry slip-joint pliers, a small adjustable wrench, a flashlight, painter’s tape, a sharpie, basic hose caps, a hand pump or turkey baster, rags, moving blankets, stretch wrap, shoulder straps, and appliance dollies with soft wheels. For front loaders, I keep the manufacturer’s transit bolts on hand if the client still has them. If not, I use a third-party shipping brace meant for that brand. It’s not superstition. It keeps the counterweights from battering the outer drum during a stair carry.
Step-by-step approach that prevents water surprises
Start with power and location. Unplug the machines. If the laundry closet is dark, prop the door so you are not working blind. Slide the dryer out first if space allows, because it blocks access to the washer hoses and valves in most setups. For a stackable set with a dryer on top, disconnect hoses and power before any lifting.
Shut off the supply valves at the wall. Turn both hot and cold clockwise, then open the washer’s cycle knob or push the start button without power to bleed residual pressure as you loosen hoses. Put a towel below the hose connections and keep a small bucket ready. When you spin off each hose at the wall, catch the first spurt. Cap the wall valves with simple plastic hose caps or thread the hoses back onto the valves loosely so no one can bump the handles later and leak into an open line.
Next, disconnect at the washer. Again, expect water in the hose. If a hose is stuck, use pliers gently at the coupling, not the hose body. If you see rust at the fittings or bulging rubber, plan to replace hoses at the new address. Stainless braided lines last longer, but even those go after eight to ten years. I write install dates on a piece of painter’s tape wrapped near the coupling, so the next move tells me what I’m dealing with.
Drain the washer fully. Top loaders are forgiving, but front loaders hide water in the pump filter. On many brands, a small panel near the bottom opens to a coin trap and a short drain hose. Pull the hose, drain into a shallow pan, then unscrew the filter slowly, pausing to let water dribble into your container. If the model lacks a service hose, a hand pump or turkey baster through the drain opening helps. Rock the washer slightly front to back, then side to side, to coax out trapped water. Keep towels under the front edge as insurance.
Secure the drum. This is the step most do-it-yourself moves skip, then pay for with a knocking noise later. Front-load drums hang on springs and ride on shocks. Without transport bolts, jolts on stairs can crack the outer tub or mount points. If you cannot locate the original bolts, check local appliance parts stores or order a compatible shipping kit. I have occasionally cut dense foam blocks to wedge gently around the drum for short, flat moves, but I only do that when we cannot obtain bolts and the travel is minimal. The proper bolts are always better.
Cap the washer ports. Screw-on plastic caps keep residual water from weeping into the truck or leaving mineral streaks down the cabinet. Label hot and cold on the back with tape if the markings are faint.
Dryer disconnects: electric and gas require different care
Electric dryers are straightforward. Unplug, then remove the transition duct at the dryer using a screwdriver for the clamp. If the duct is thin foil aperfectmover.com seattle area movers and looks tired or crinkled, I replace it on install with UL-listed semi-rigid aluminum. Foil tears, collects lint, and sags. If the duct disappears into a dryer box in the wall, reach gently and loosen the clamp there as well. Vacuum lint from both the dryer outlet and the wall port. Less lint means better airflow after reassembly.
Gas dryers demand patience and the right touch. Turn off the gas supply valve, usually a small lever near the flexible connector. The lever should align perpendicular to the pipe when off. Crack the connector at the dryer side with a wrench while supporting the valve body so you do not twist the fixed piping. Cap the dryer’s gas inlet with a protective plastic cap to keep debris out, and cap or plug the open gas supply line at the wall using an approved gas cap or flare fitting cap. At the new location, a licensed technician should make the final gas connection and leak test with a manometer or at least with an approved leak detection solution. I do not rely on soap and water alone for peace of mind if there is any doubt.
Protect floors, walls, and door frames during the move
A laundry pair will expose every weak spot in a hallway. Soft caster mats or runners prevent dolly wheels from printing into old pine floors. Moving blankets on the washer sides, taped wide with painter’s tape, keep trim paint intact. Low-profile appliance dollies with strap points give you leverage without gouging. If you need to tilt the washer to climb a threshold, keep the tilt shallow so residual water stays contained. For stairs, two movers with shoulder straps and a lead who calls the cadence make life easier than trying to heave the unit on a dolly up each riser.
One recurring lesson: dryers are deceptively light compared to washers, so people carry them bare and scrape vents or controls on door jambs. Wrap the dryer fully, even for a ten-foot move, and tape the door shut so it does not swing into a banister on a tight turn.
When a storage plan actually saves you money
If you are staging a home or facing a gap between closings, do not rush to shove a washer and dryer into a packed storage unit without preparation. A short storage stint often costs less than repairing a dented side panel or replacing a lost stacking kit. I have seen people leave hoses attached and toss the pair into a corner. The hoses scuff the finish and trap moisture against the cabinet. Better practice: remove all hoses and ducts, dry everything, bag small parts together, and tape the bag to the washer’s back with a label. Store machines upright. Lay them on their backs and you invite motor and tub mount stress during transport vibrations.
A Perfect Mover Moving and Storage Service has managed many two-stop moves where laundry sets spend a few weeks in storage before the new home is ready. The trick is treating them like valuable electronics, not like garage gear. We wrap with breathable pads, strap to prevent tipping, and place the set on pallets or furniture dollies to keep distance from cold concrete floors that can sweat in damp weather. If storage will be longer than a month, I crack the washer door and tape a vented spacer so the tub airs out and never smells musty when you finally reinstall.
The Marysville factor: rainy days and tight stairs
Western Washington weather shows up uninvited. Moving a washer during a downpour multiplies the slip risk and moisture problems. Keep a stack of dry towels by the door, wipe the dolly wheels before they hit indoor floors, and shrink wrap the machine after padding so the moving blanket doesn’t wick rain onto a hardwood floor. In older Marysville and Snohomish County homes, basement stairs are narrow, with 90-degree turns and low handrails. Measure the path before you lift. Remove doors and hinge pins if necessary to buy another half inch. If tolerance is close, I sometimes set the washer on a thin slide board and pivot gradually so the corners never touch trim.
Reinstalling without leaks or lint clogs
Hook up in a calm, methodical order. Level the washer first, front to back and side to side. A leaning washer shakes more, strains hoses, and walks during spin. Adjust the feet with a wrench, lock them, then push the machine gently to seat it and recheck the level. Connect cold and hot hoses to the correct ports, hand-tighten until snug, then a gentle tweak with pliers. Do not lean into it. The rubber washers do the sealing.
Open the wall valves slowly and watch for beads of water at both ends of each hose for a full minute. Run a quick fill cycle and check again. If a bead appears, back off, reseat the washer, and retighten. Minerally hard water areas benefit from new washers in the hose couplings, because old washers compress into shapes that stop sealing well after years on the same threads.
For the dryer, attach the duct with round clamps, not duct tape. Tape dries, peels, and fails. Ducts should have the shortest, straightest path to the wall. Long loops add drying time and lint buildup. For gas, let the licensed tech finish connections, pressurize, and verify no leaks. Then test with a timed-dry cycle and check that exhaust air flows freely outside.
Damage that happens when steps are rushed
There are three common avoidable issues. First, a cracked plastic drain pump housing on front loaders from transporting without transit bolts. The symptom is a rhythmic knock during spin or a small leak that grows with each run. Second, crushed or kinked washer hoses from pushing the machine back too hard. The machine fills slowly or throws an error code. Pull it forward two inches and checks usually improve. Third, lint migration from an unfastened dryer elbow that slipped off during installation. The fix is simple, but it coats a utility closet with dust before anyone notices.
I learned the pump lesson early in my career on a steep flight of apartment stairs where the crew skipped the bolts because “it’s only two blocks.” The machine ran quietly before the move, then thumped loudly after. We covered the repair, and since then, bolts or a proper brace are non-negotiable. It is cheaper than one call to a service tech.
Special models and edge cases
All-in-one washer-dryer combos have small drain pumps and tight service panels. Their coin traps clog more easily when tipped, so drain them fully before any tilt. Compact European units often require brand-specific shipping bolts, so plan a week ahead to source them.
Vented gas dryers with side vent kits add elbows inside the cabinet. Those models snag lint internally if the external duct is crushed, so airflow checks matter even more. Heat-pump dryers are heavier than they look. Their internal condensers and water tanks change the balance; keep them upright at all times and secure doors so the weight of the filter frame doesn’t swing while carrying.
Smart washers have water leak sensors in the base. If any water enters the pan during disconnect, the machine may refuse to start at the new home until dried. Pull the front kick plate, dab moisture with a towel, and let the machine sit with a small fan for an hour before powering up. That saves a head-scratching error code.
Labeling and parts control that save hours later
Small parts disappear in chaotic moves. I use two layers of redundancy. First, every hose, clamp, cap, and bracket goes into a clear zip bag. Second, I write the appliance model and a short parts list on painter’s tape stuck to the bag. Then I tape the bag to the back of the machine and add a second bag in the “hardware” box in the truck. If the parts bag comes loose on the road, the backup still exists. When clients unpack a garage full of boxes, that small discipline prevents a run to the hardware store for another clamp you already own.
A Perfect Mover Moving and Storage Service trains crews to pair components to machines before they leave the room. It sounds fussy, but the habit came from a Saturday job years ago where a stacking kit disappeared into a sea of identical home-improvement-store boxes. We had to improvise a temporary brace while a replacement kit shipped. Since then, kits and bolts ride taped to their appliance, not tossed in with “laundry room” boxes.
Renting vs owning the connection pieces
American homes are inconsistent about whether hoses and dryer ducts stay with the house or go with the appliance. If you are moving locally and plan to reinstall the same day, take your hoses and duct unless the new place has fresh ones. If you are moving long distance or expect a storage gap, replace both on install. It costs less than the time to chase a slow leak. In multi-family buildings with shared dryer vents, confirm the condo or apartment association’s rules. Many buildings ban flexible ducts and require a specific connector. Better to know that before you arrive with a foil tube you cannot use.
When to call a pro and what that looks like
Some parts of the job reward experience. Gas connections, stacked laundry centers in tight closets, and machines in basements with hairpin turns benefit from crews who have the right dollies, ramps, and habits. Pros are not just strong. They sequence tasks, protect the house, and build in time for testing. The last 15 minutes of a good reinstall is quiet watching: checking for beads of water, listening for a smooth spin, confirming warm air at the exterior vent.
On multi-stop days, A Perfect Mover Moving and Storage Service assigns a lead who handles water shutoffs, caps lines, and signs off on reassembly checks. The rest of the crew stages pads, clears paths, and handles the carry. Division of labor reduces mistakes, especially in apartments where the building expects you to finish within a reserved elevator window. A steady pace beats a hurried dash every time.
A realistic 72-hour game plan if you must move fast
Sometimes life compresses. If you have only a few days to vacate, aim for a clean disconnect and safe storage rather than a rushed reinstall. Day one, buy new hoses, a new dryer duct, and transit bolts if needed. Day two morning, drain, cap, and pad. Afternoon, move and store upright. Day three, deliver and reinstall calmly. Running the first test load at 8 p.m. after a full-day move is when people miss the bead of water forming under a coupling. If you are in Marysville with rain in the forecast, add time to wipe gear and floors as you go. Small pauses beat big messes.
Safety reminders worth repeating
Power off stays off until you are ready. No one reinstalls a plug to “test a quick spin” while hoses hang loose, not even for a second. Keep kids and pets away from the laundry area on moving day. A heavy front loader on a dolly can turn into a dangerous pendulum if someone bumps the handle. Wear gloves when handling sheet-metal dryer backs that have razor edges near the vent collar. Lift with legs, but more importantly, lift with a plan. Talk through turns and clearances before you pick up the weight.
Troubleshooting after the move
If a washer vibrates wildly on the first spin, check three items in order: transit bolts still installed, feet unlocked and unlevel, or shipping materials left inside the drum. I have found blocks of foam under the tub from factory shipping that a rushed install missed. If the machine walks, mark the floor where the feet sit and adjust a quarter turn at a time. Many floors in older homes slope; level to the machine’s behavior as much as to a bubble in a vial.
If a dryer underperforms, step outside and feel the exhaust. Weak flow means a crushed duct or a long run choked with lint. Do not push the dryer tight to the wall. Leave an inch or two for air and hose. Electric dryers that trip breakers often share a circuit with something they should not. Gas dryers that will not ignite after a move may have a flame sensor covered in lint or a gas valve not fully open. For gas, if anything smells off or the burner short-cycles, stop and call a qualified tech.
A short pre-move checklist you can copy
- Locate and set aside transit bolts or order replacements by brand and model. Buy new stainless braided washer hoses and a UL-listed semi-rigid dryer duct. Clear a path, protect floors, and measure tight turns and doorways. Prepare caps for water valves and gas line, and bags for small parts. Plan the sequence: dryer out, water off, hoses drained, drum secured, pads wrapped.
Real costs of skipping small steps
Here is a sober comparison from jobs I have seen. New hoses and duct together cost less than a typical service call. A cracked front-load tub from transporting without bolts can exceed the value of a five-year-old machine. A slow drip behind a washer can stain a ceiling below in two days and run into thousands once drywall and paint are involved. A loose dryer elbow reduces airflow, lengthens drying times, and adds dollars to the electric bill every week. Small steps are not belt-and-suspenders fussiness. They are the cheapest insurance you can buy.
How pros keep track during complex, multi-stop moves
Two-stop moves, especially when combining homes or using storage, multiply chances for missing parts or mislabeled machines. Crews at A Perfect Mover Moving and Storage Service tag each unit with a color code that follows it from the first address to storage and then to the final home. Parts bags carry the same color and a unique number. At load-in, the lead calls out numbers as each bag and machine arrives. If a bag is missing, we know before the truck pulls away from the curb, not while a client stands in a laundry closet wondering where the vent clamp went. That small discipline came from lessons learned on busy Saturdays when three laundry pairs move on one truck.
Final thought: treat water, weight, and walls with equal respect
A washer and dryer pair can be the easiest part of a move if you slow down at the right moments. Shut off water and cap it. Drain more than you think you need to. Secure a front loader like it is a crate of glass. Wrap and route a dryer the way air wants to flow. Protect floors and door frames like you just refinished them. Test, watch, and only then push the machines into their final homes.
Do that, and laundry is running the first night, not generating a call to a repair tech or a landlord. And if the path looks tricky, a seasoned team that moves these every week will see the risks that hide in plain sight and solve them before they become problems.